Hog Dogs
6 years of testing and we've finally perfected the wild hog banger!

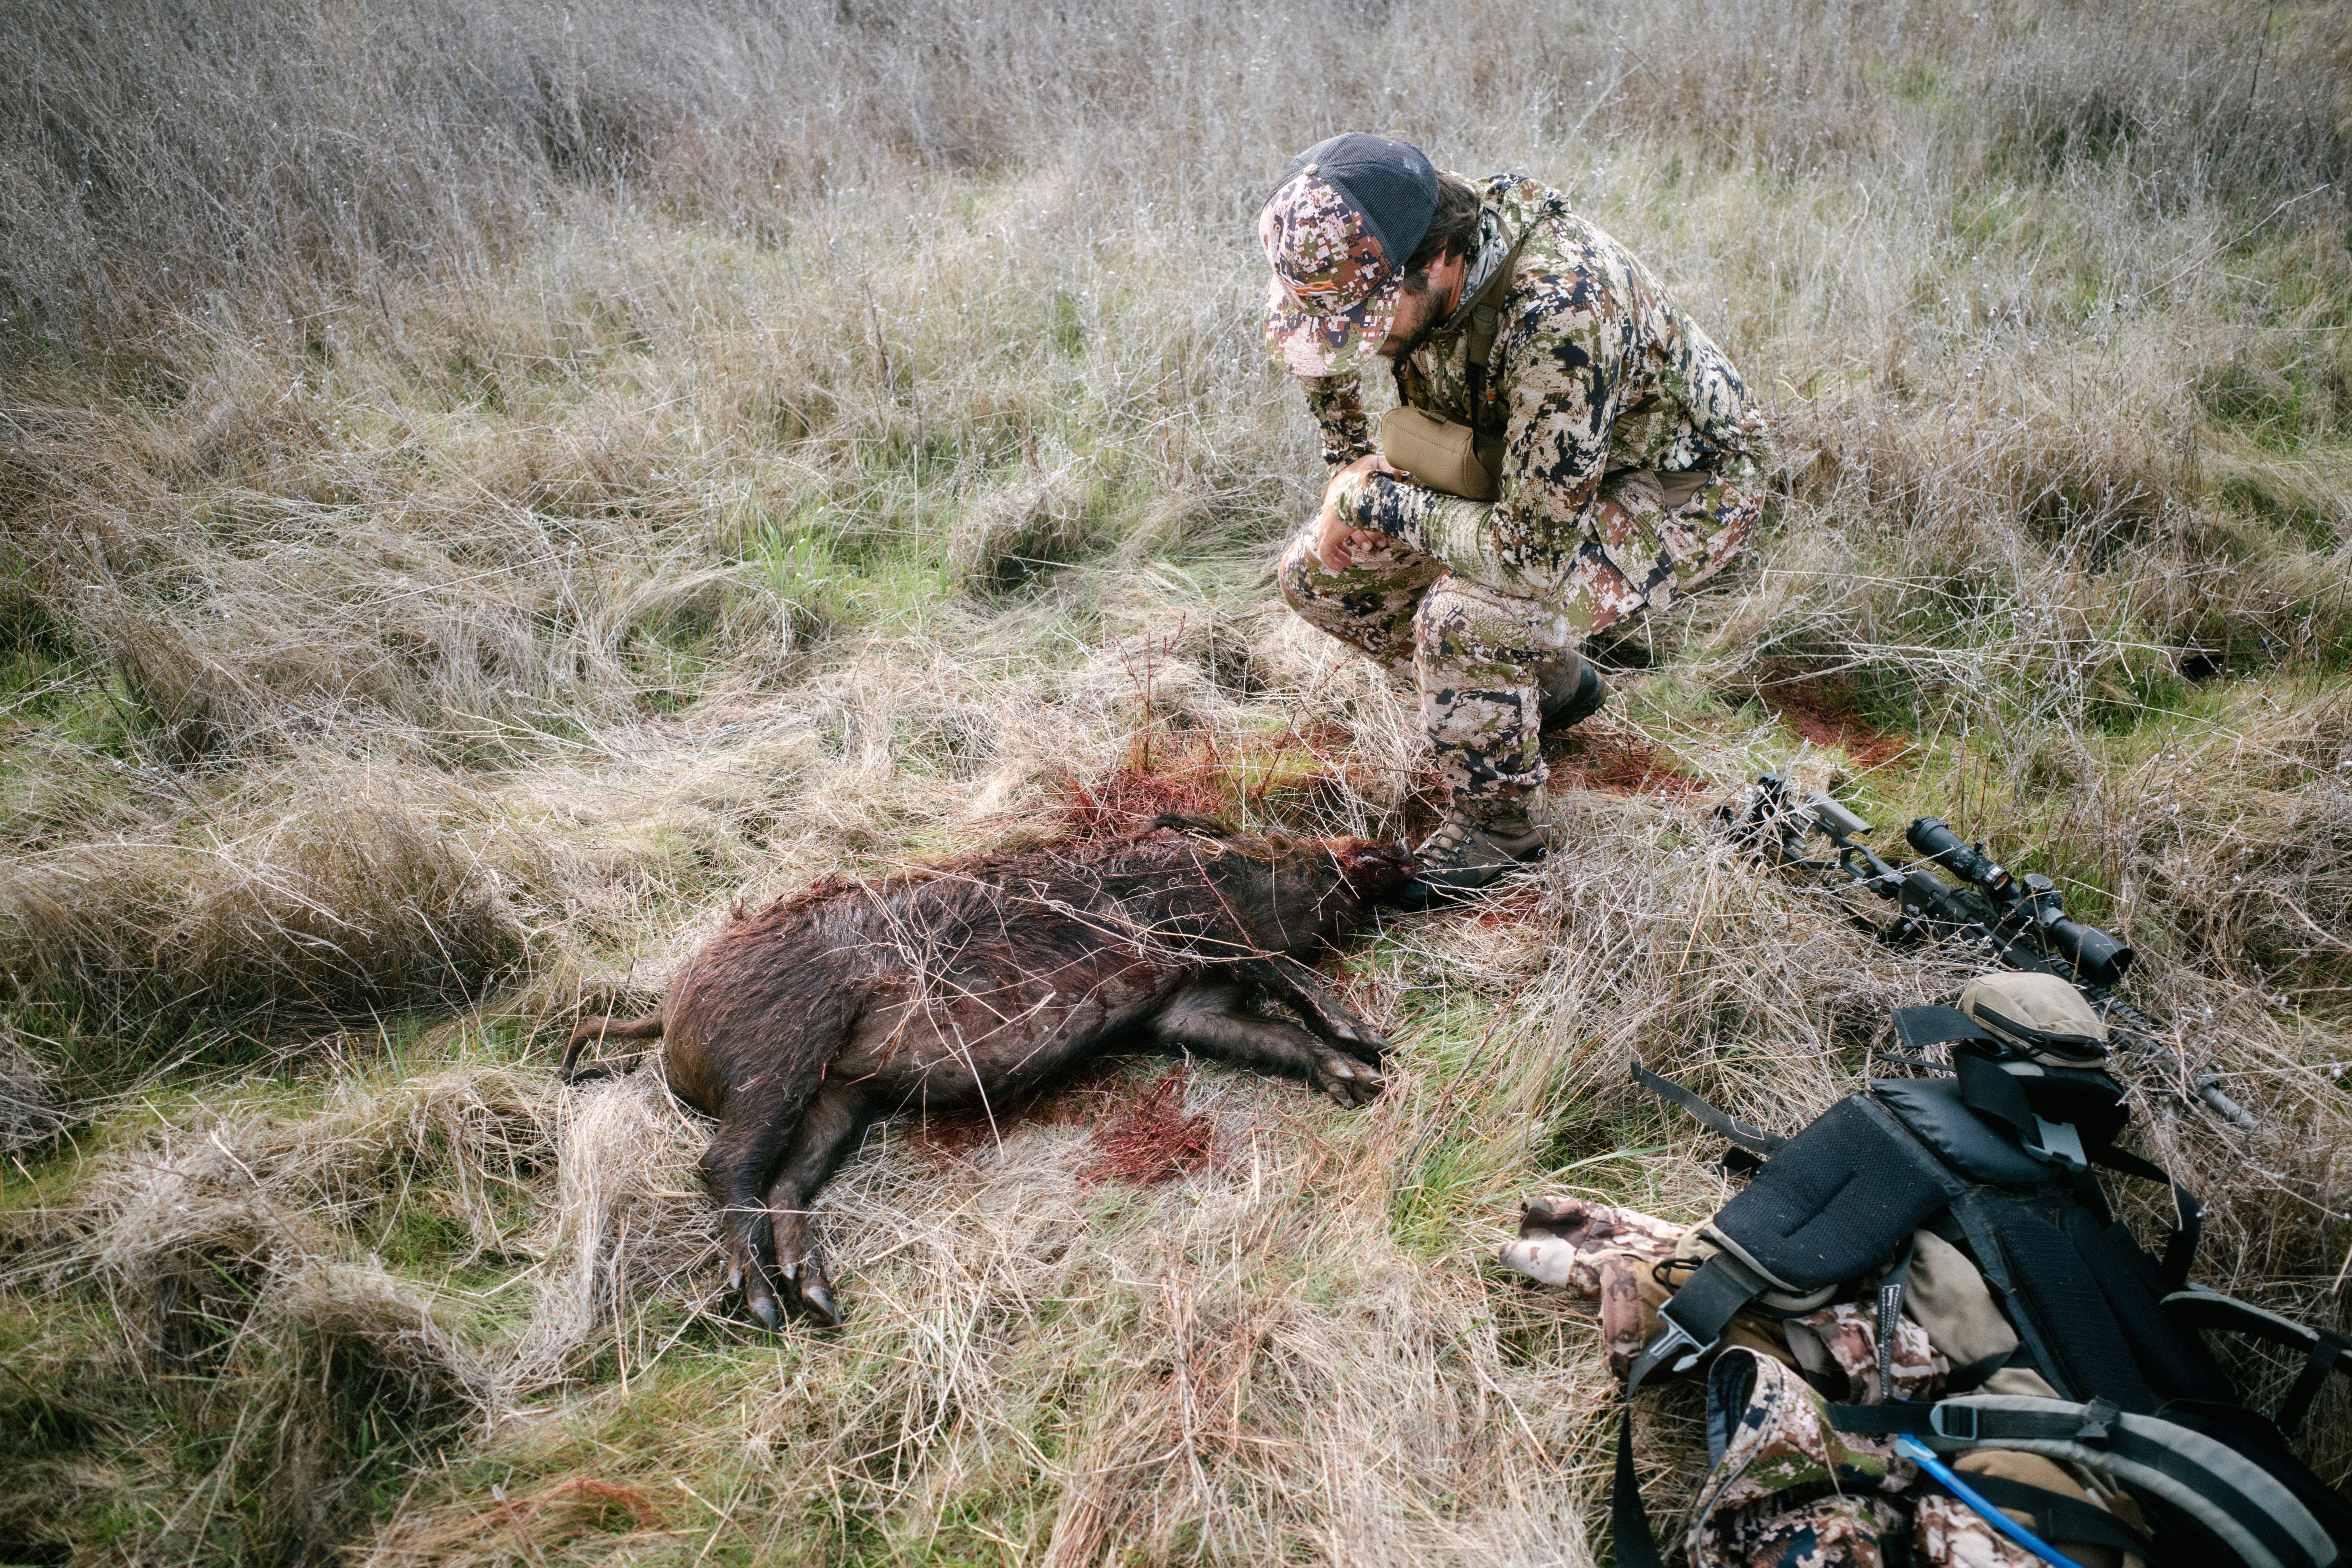
Hunting photo by Foster Huntington
Sausage prep and cooking photos by Nate Stephenson (@nate_stephensonn), fellow boat-dweller, sea wench and talented photographer
In these last few months of pregnancy while I’ve been meal prepping, washing thrifted baby clothes and setting up our bedroom to welcome the babe, Trevor has been in serious provider mode. It’s most definitely the male equivalent to nesting. Almost every weekend for months he’s been either chasing mule deer in Arizona or honing in on wild pigs a little closer to home. On his last trip with long-time friend Foster Huntington they finally got a good sight on a crew of hogs and Foster took the shot!
The pig that would soon be sausages was a beautiful sow, which is definitely our preference when it comes to eating wild pig. Although you often get a lot more meat with the boars, they are much stronger tasting. It’s not necessary an outright unpleasant taste, but it’s masculine and full of pheromones nonetheless and I personally have to be in the mood to eat it all the time. I find myself holding the frozen meat packet and sort of slapping my lips together trying to imagine if I would enjoy eating that right now, and often times I put them back and opt for some trusty venison stew or ground. It’s not the same experience with a fatty wild sow or domestic pork, I am more often than not always in the mood for an English banger!
Foster very generously and kindly gifted us the pig, and we couldn’t be more excited to be refilling our freezers with some protein. All of my frozen chia pudding and lactation cookies are looking delicious but we’re going to need to some sustenance come April. Breast milk is not built on carbs alone!
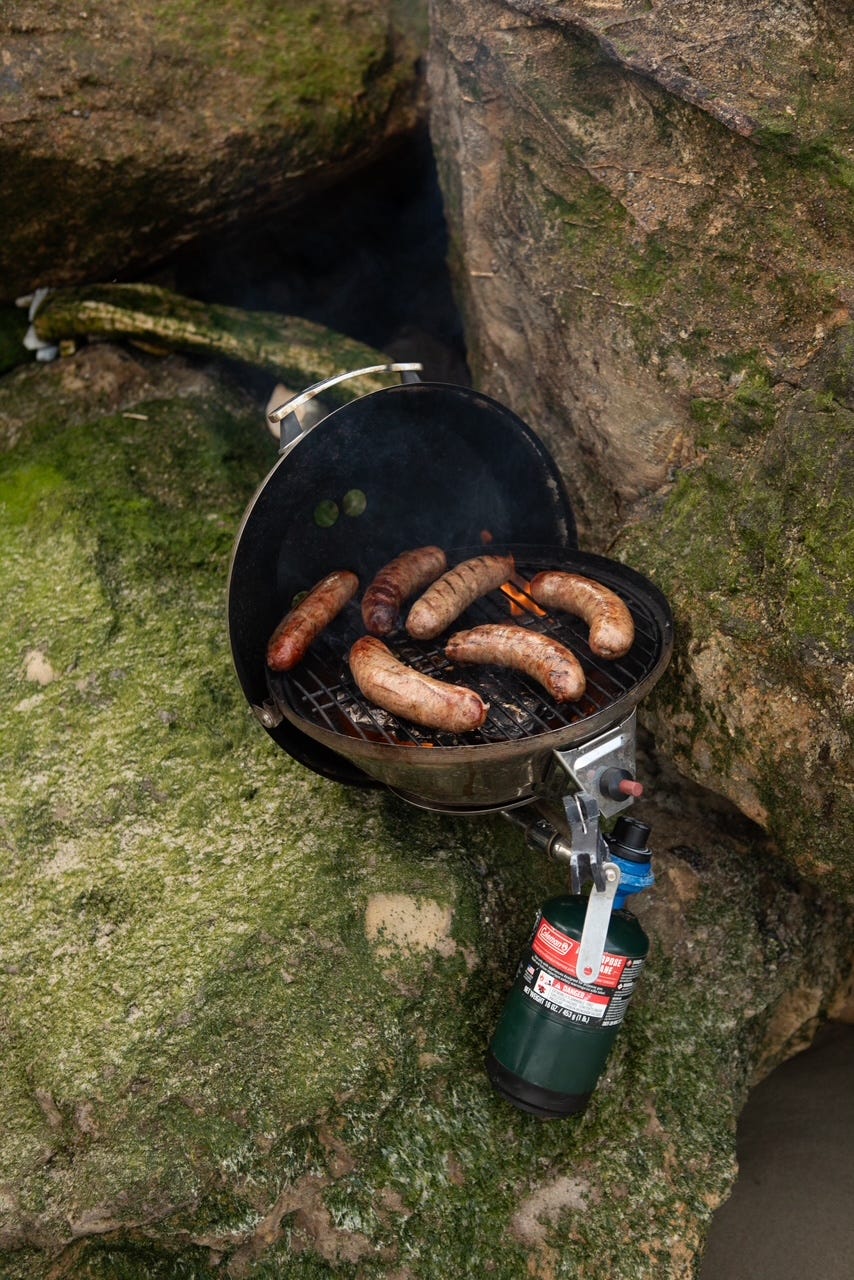
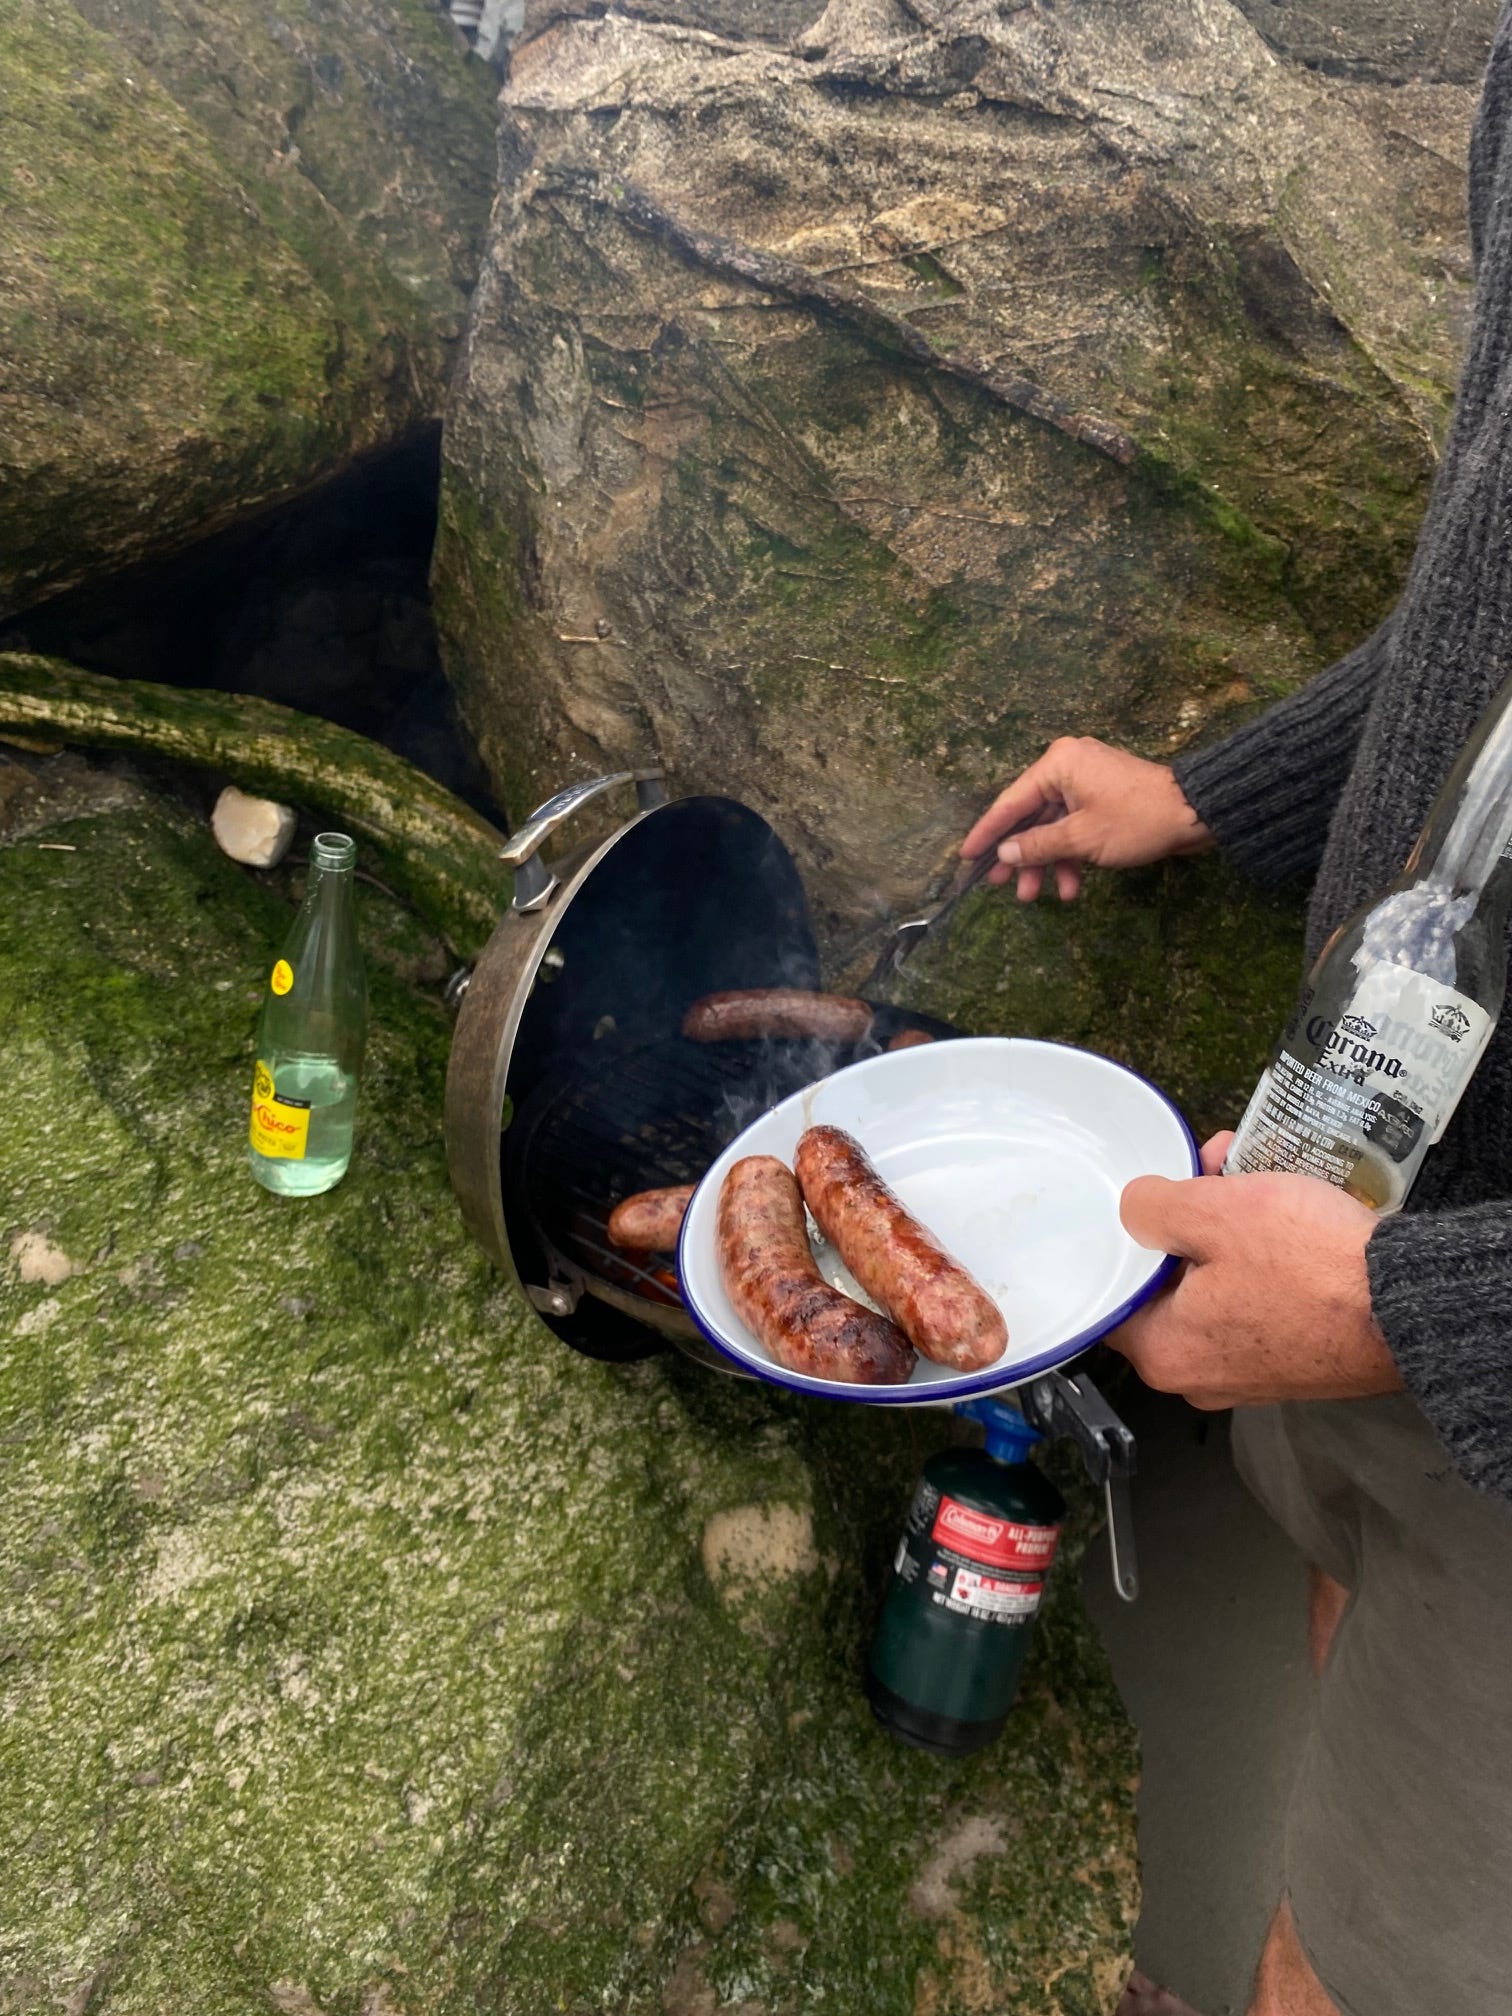
After butchering many pigs now, and really getting to the know the cuts and our own eating habits we almost always “sausage” the whole pig. We’ve butchered large and small roasts from pigs, ribs, butts, hams, chops, shoulders, and hocks and have always regretted not making enough sausages. The cuts tend to be the last to be eaten, squatting in the dark depths of the freezer as we joyfully grill sausage after sausage, dragging them through tomatoey baked bean juices and piles of heavily buttered mash, or slapping them into soft buns to be eaten under dwindling summer sunlight.
So sausage the pig we did, and we are thrilled with the results! 6 years of making small mistakes have lead to an on-going quest to finally nail the banger, and Wenches, I believe we did it! I’m going to unpack our mistakes and how we improved on them with the subsequent pigs, and then share our favourite perfected recipes.


Lessons learnt through the art of sausage making
Through the process of making sausage we have come across some issues that resulted in tasty but less-than-perfect links. The biggest issue that we have finally overcome is the texture of the sausage. We strive for semi-firm, almost bouncy sausages without the need of a filler like rusk or breadcrumbs but have ended up with crumbly sausages quite often. The cause of the crumble is a combination of most of the variables below, and each time we butcher a pig we master at least one of these variables. If you can nail each of these you will have a perfect sausage on your grill!
Butchering: Learn the joints and clean your meat! We used to grind almost everything, minus the bloody shot areas, and yes your grinder will take care of any meat you put through it but that doesn’t mean you’ll be left with a superior textured grind. Try and differentiate between fat and sinew, keeping the fat and discarding the latter. Fat is your friend and renders nicely during cooking, where as sinew doesn’t breakdown very well at all. Discard any glands which are usually found around the hind and neck areas. Lastly dry clean your meat well and remove any hair, grass, gristle and bloody shot.
Grind: The texture of the grind can definitely boil down to personal preference. In England the sausages are superior (I’m bias) however they are usually finely ground with the addition of fillers. We would rather not use rusk or breadcrumbs so finding the right grind in lieu of filler has been an experiment but we’ve definitely ended up with too fine of a grind before which wasn’t particularly enjoyable to eat. We’ve realised that a double medium grind is the perfect grind for us. We cut and weigh the meat, weigh the fat and then grind both together using the medium grind plate. We then sprinkle the grind with the seasoning and grind again on medium. This creates a sausage with texture that holds together.
We use this grinder and love it!


Temperature: Cold! Very cold! This has been the hardest variable to control when processing meat on the boat but by using a few coolers packed with ice we can now keep the meat, fat and equipment chilled between uses.
Some tips we’ve learnt along the way:
- Chill the grinder parts before grinding
- Fill the sausage stuffer with ice before stuffing the casings
- Keep meat and fat chilled between batches
- Chill the seasoned meat before stuffing into casings
- Chill the links uncovered before wrapping for the freezer. By chilling them uncovered the casings will dry out which makes them freeze better.
- Massage the meat with a few ice cubes to keep the temperature downSeasoning: Get to know your salt, and stick to the same brand every time you make sauages. Although there is plenty of leeway when it comes to herbs and spices in your sausages, salt content is by far the most important and hardest to stay consistent with between batches. All salt is not created equal, and 4 tbsp of Kosher salt in a recipe cannot be subbed for 4 tbsp of pink Himalayan salt, or fine sea salt. When you’ve found a salt ratio that works for you (always test fry a patty before stuffing into casings), make a note of the brand of the salt and use it again next time. The salt we used in our recipes is Sprouts brand coarse grind Kosher sea salt. I whizzed it in my blender for a few seconds to make it finer. It’s okay to change the salt you use but always test fry a batch first and adjust seasoning accordingly. An under seasoned sausage is a sad sausage, and an over seasoned sausage is inedible.
Casings: Just like salt, not all casings are created equal. Because we aren’t planning on smoking or curing our sausages we tend to look for a casing that is tender and not too thick. We always opt for domestic hog, as imported hog casings from China give me the major heebie-jeebies. We were buying from a butcher here in town but they were much too tough. We then purchased lamb casings online which we loved but they are narrow and more suited to our fish sausage recipe or skinny breakfast links. We have now started buying them from Ventura Meat Co. in the next town over and really like them. Then hold together and cut easily! Bingo! There is also the issue of purchasing nitrate-free casings or not, and although nitrate-free is ideal it hasn’t been possible for us to source these in an affordable way that makes hunting and preparing our own sausage worth it. We pick our battles.
Rock Fish Sausages
·
Our eating habits aboard Aldora revolve around seasonal produce and fishing and hunting seasons, and lucky for us rockfish season is upon us.
Fat content: There’s no opportunity to be fat-shy with sausages. They are meant to be moist, succulent and full of tasty pork fat, and fat means flavour! Fat content will differ a lot between recipes and it’s mostly down to the cuts/type of meat being used. There will be less added fat in domestic pork recipes because the meat itself is fattier. For a plump wild sow we opt for 25% added pork fat to 75% wild meat. We would up this 30% fat content if we were making sausages with a leaner wild boar. We source good pork fat from a local farm, but you can ask a reasonable natural grocery store to save pork fat for you, and they are usually happy to. We use back and/or suet fat for sausages but more often than not back fat is what is available to us. Do not use rendered park fat, it needs to be in it’s raw state.
Massage: This last variable is the final piece to our sausage puzzle and should not be skipped! For a sausage that IS NOT crumbly, that holds its shape and has a satisfying bounce you must massage the seasoned ground meat and fat with your hands until it is very sticky before loading your sausage stuffer. By massaging the sausage filling you are creating “protein extraction” which binds the meat with the fat. You must keep this process quick and the meat cold. We add a few ice cubes to the bowl while massaging and toss them before loading the stuffer. You are looking for a golf-ball sized piece of meat to stick to the palm of your hand when upside down. If you skip the massage you are essentially stuffing a casing with ground meat; aka crumbly sausage!


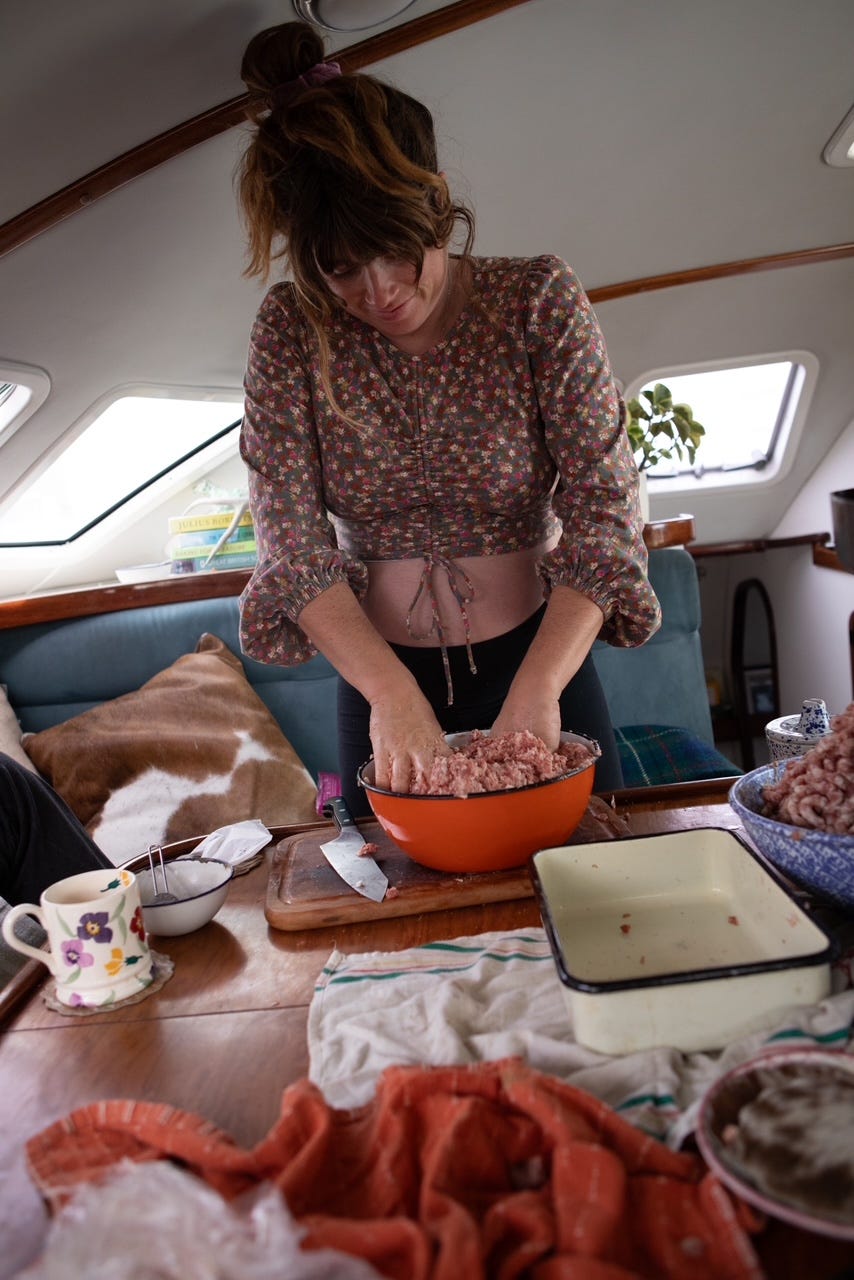
Baby’s second sausage making party ^^
This post and these recipes are available to both free and paid subscribers today, but many of my posts are for paid subscribers only. Please consider upgrading to paid and help support this publication and my sweet family. Sea Wench is a passion project that I LOVE doing and I hope you enjoy the content as much as I enjoy writing (and eating) it!
The English Banger
The ultimate, the almighty, the gently herbed and nutmeg-heavy sausage to end all sausages; the English banger! This is such a versatile sausage that can be eaten with mash and veg, sliced up cold into a sandwich with lashings of red onion marmalade, or cooked up for breakfast with the usual suspects. We’ve been basing our herb and spice ratios off of a recipe from one of my favourite old-timey cookbooks: Farmhouse Cookery by Readers Digest. We’ve tweaked the recipe a lot, removing the rusk and even making it with venison instead of pork a few times, but it never fails on flavour.
Equipment you will need:
- A meat grinder (electric or manual)
- A food scale
- Large pans, bowls or roasting tins
- An ice chest, fridge or freezer
- A sausage stuffer
- A very sharp, efficient knife
- Freezer/butcher paper or vacuum seal bags/sealer
Double or triple recipe as needed for the quantity of meat that you have. Don’t halve it, you’ll be too sad that you didn’t make more.
Ingredients:
8lb of cleaned wild pig meat
3lb of raw pork fat
1 tsp ground nutmeg
4 tsp dried sage
4 tsp dried thyme
2 tsp ground pepper (a combo of black and white is really nice here)
4 tbsp of salt**
Soaked and rinsed hog casings
** Please see my note on seasoning above. We used Sprouts brand coarse grind Kosher sea salt that I blended finer and the amount was perfect for us. You will need to taste a cooked sausage patty before stuffing into casings to ensure the amount of salt is right for you with the type of salt you are using. Morton’s Kosher salt tends to be less salty so you may need more, whereas pink salt tends to be very salty!
The Grind: Firstly, ensure the meat, fat and equipment are thoroughly chilled. Begin by preparing the meat and fat. Prepare the meat by removing gristle, sinew, bloody areas and glands. Cut it into chunks that will fit into your grinder. Cut the fat into chunks as well. Weigh out 8lbs of pig meat and 3lbs of fat and grind using the medium plate of your grinder. Set the ground meat aside in a cooler, fridge or freezer while you prepare the seasoning blend.
Measure out the herbs, spices and salt into a small bowl. You will be grinding the meat again in two batches with the seasoning. Sprinkle half the seasoning over half of chilled ground meat and run through the grinder one more time. Sprinkle the rest of the seasoning over the remaining unseasoned pork and grind again as well.
Assuming the meat is still cold, use your hands to massage the seasoned meat, kneading it and squishing it through your fingers. You can add a few ice cubes here to keep the meat chilled. You want the meat to be very sticky so that a golf ball-sized chunk will stick to the palm of your hand upside down.
Now is a good time to fry up a small piece and test for seasoning. Adjust as needed and remember it’s a lot easier to add salt, but as good as impossible to adjust an over seasoned mixture. Set aside into the fridge until you are ready to stuff the casings.
The Stuffing: The sausage stuffing process is a two-person job in my opinion. One person feeds the stuffer, or cranks the handle depending on the type of stuffer you use, and the other person guides the meat into the casings and out onto the counter. We use a manual sausage stuffer, after using the stuffing attachment on our meat grinder for years. We much prefer the manual stuffer and find we have a lot more control.
Load the sausage casings onto the stuffing tube. Push them all the way on until you have an inch or two hanging off of the edge. Fill the stuffer with the chilled meat and begin stuffing! Without knowing what stuffer you have it’s hard to guide this process if you haven’t done it before. Youtube is your best friend.
Once you've used up all of the meat, pinch and twist the links into your desired size, then chill them uncovered for at least an hour or two, preferably overnight. Vacuum seal or pack for freezing.
Salt and Pepper Sausage
Our favourite local farmer Jeronimo at Casitas Valley Pastures sells a really simple and supremely delicious salt and pepper sausage. It’s so simple you would think it would be boring; it’s not. It’s perfect and it’s the second flavour we made alongside the bangers with this last pig. The method is identical to the bangers above but use the seasoning ratio below
Ingredients:
8lb of cleaned wild pig meat
3lb of raw pork fat
5 tbsp freshly ground black pepper
4 tbsp salt**
2 tbsp soft brown sugar
** See salt note on banger recipe